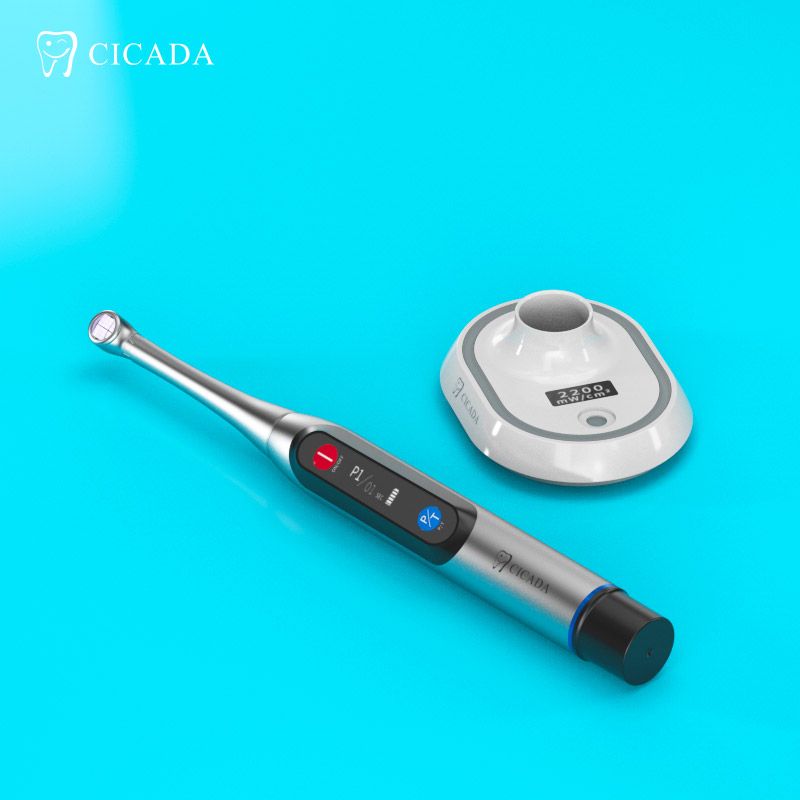
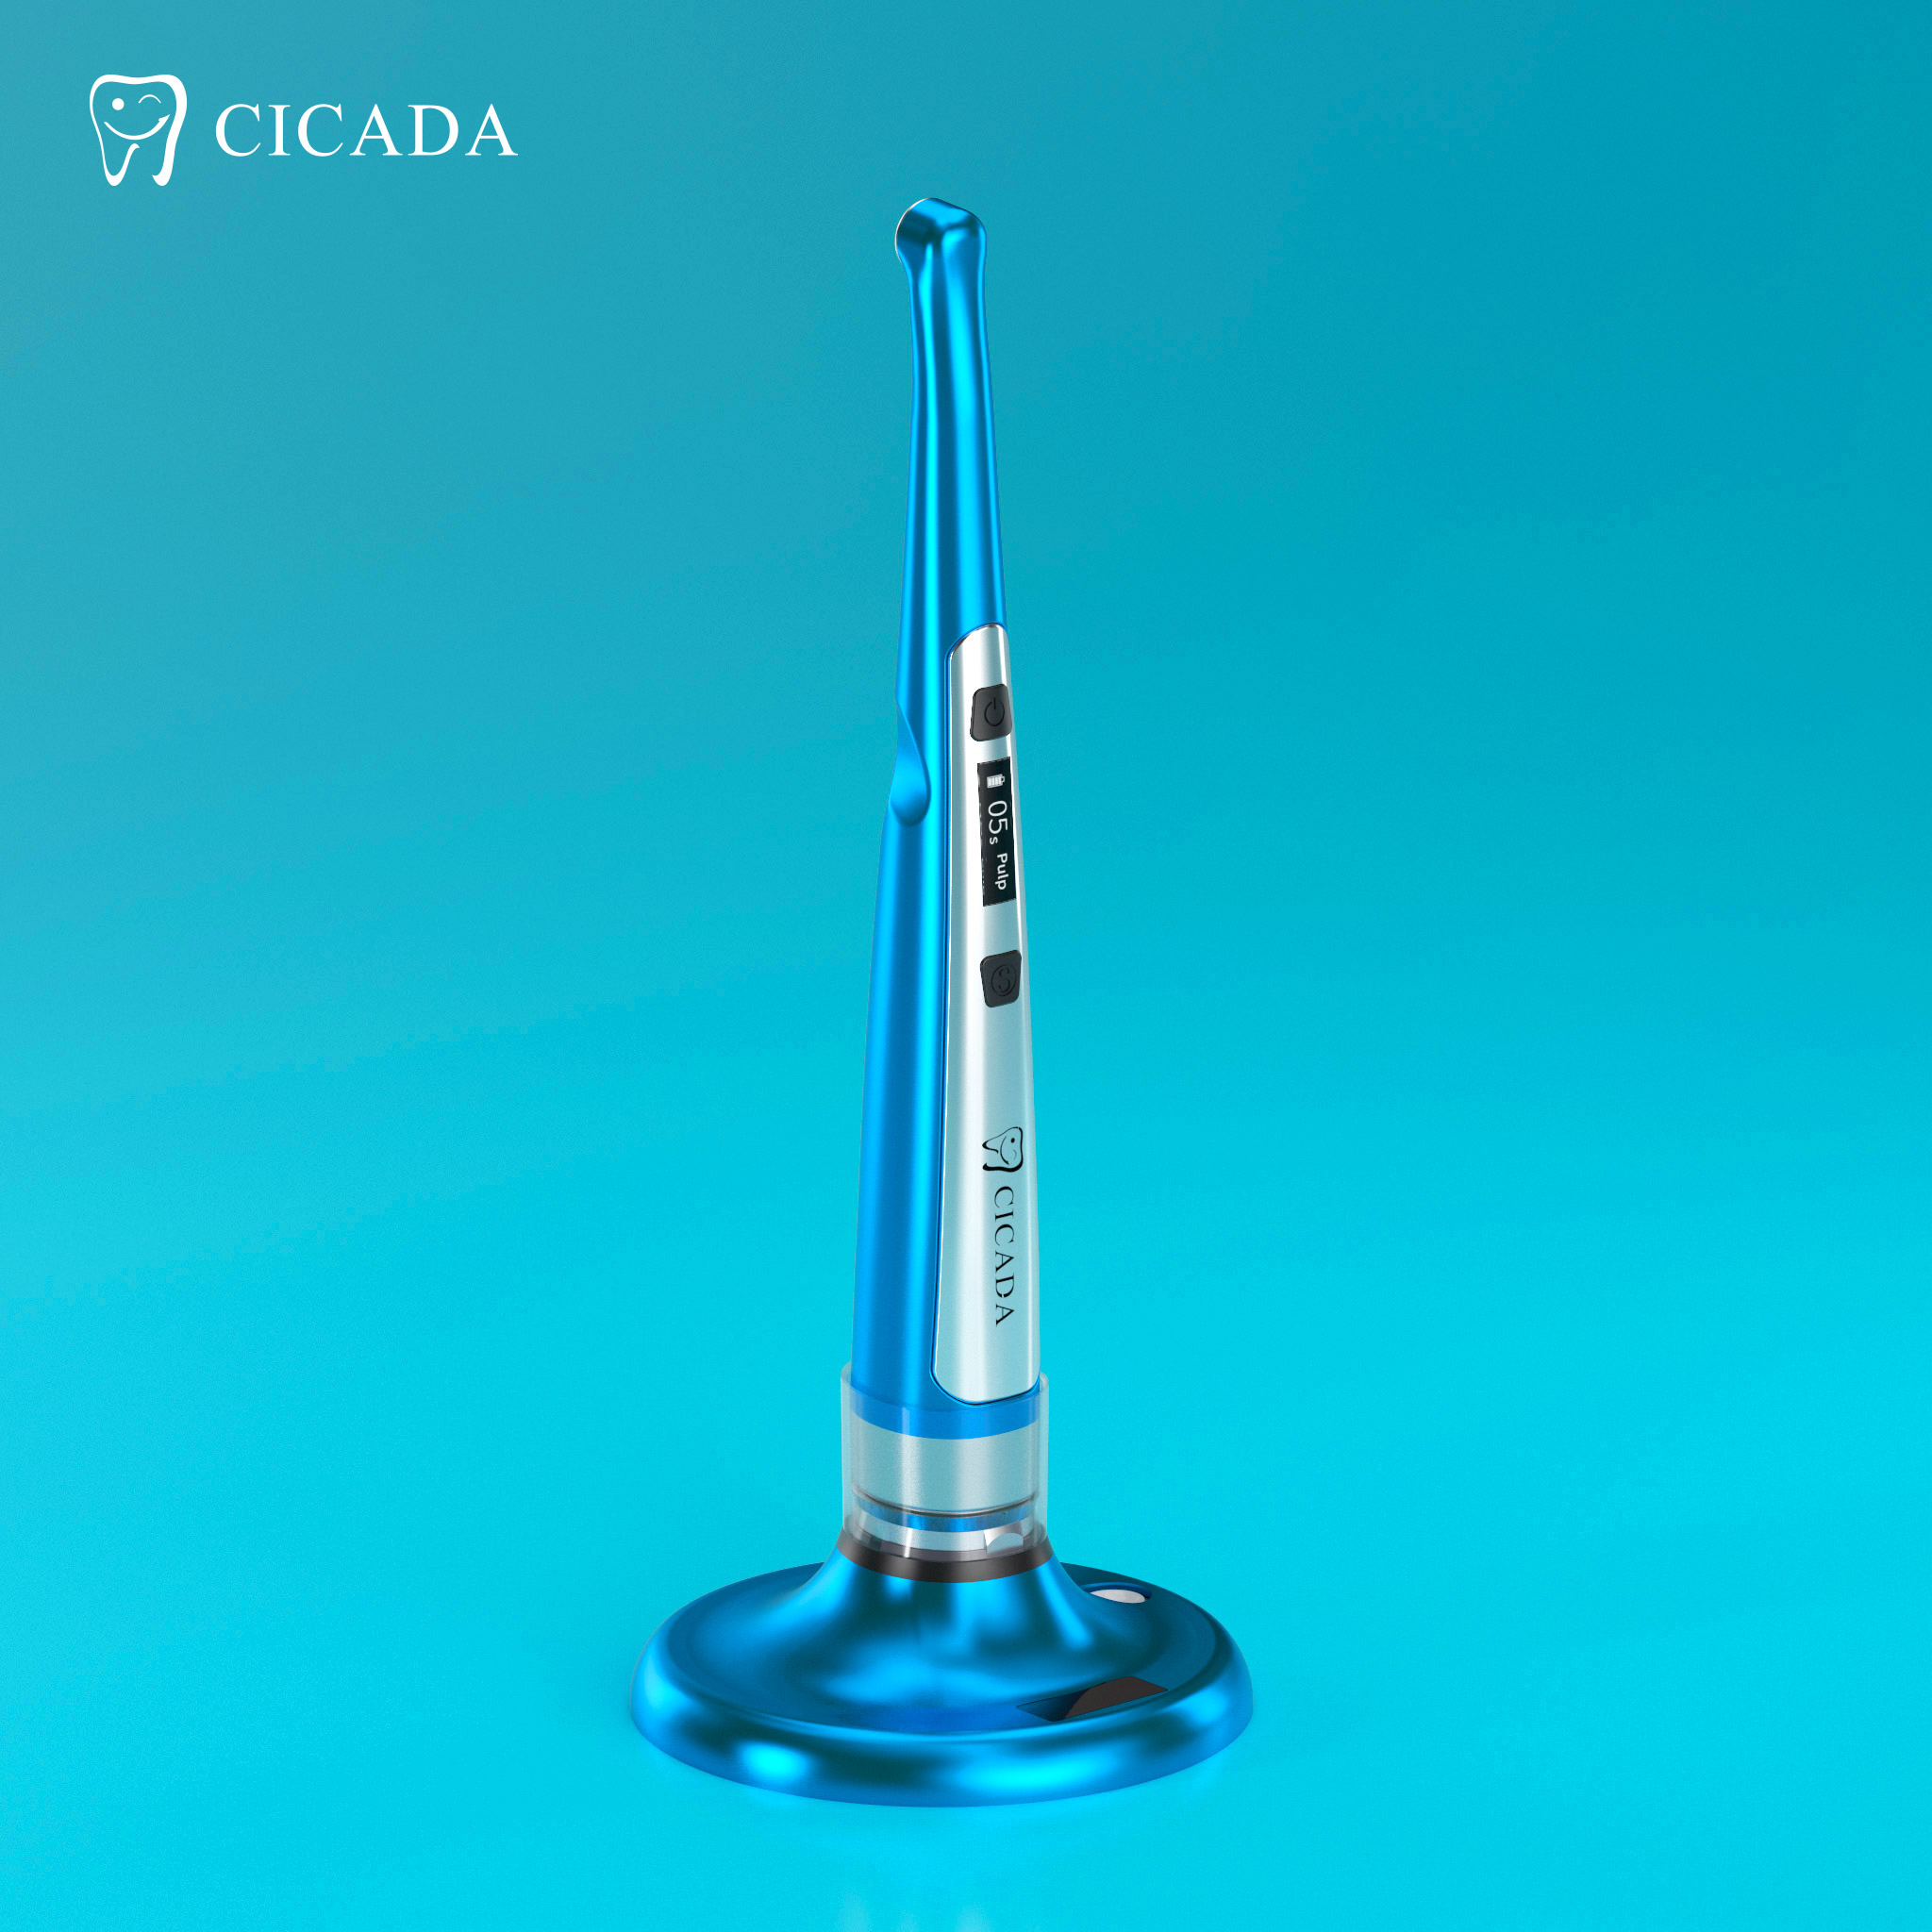
As a manufacturer of dental medical equipment, we understand the critical role that LED curing lights play in modern dental practices. Ensuring the optimal performance of your LED curing light is essential for achieving precise and reliable results in restorative dentistry. This article provides a comprehensive guide on maintaining and optimizing your LED curing light to enhance its longevity and effectiveness.
1. Regular Maintenance and Cleaning
Maintaining your LED curing light involves routine cleaning and inspection. Here are some steps to follow:
Daily Cleaning: Wipe the curing light with a soft, lint-free cloth and a mild disinfectant solution. Avoid using abrasive cleaners that could damage the light's surface.
Lens Inspection: Regularly inspect the lens for any debris or resin buildup. Clean the lens with a cotton swab and isopropyl alcohol to ensure maximum light transmission.
Check for Damage: Inspect the curing light for any signs of physical damage or wear. Replace any damaged parts immediately to prevent further issues.
2. Monitor Light Intensity
The intensity of the LED curing light is crucial for effective curing. Over time, the light output may decrease, affecting the curing process. Here's how to monitor and maintain light intensity:
Use a Radiometer: Regularly check the light intensity with a dental radiometer.
Replace the LED Bulb: If the light intensity falls below the manufacturer's recommended levels, consider replacing the LED bulb. Always use compatible bulbs to ensure proper performance.
3. Proper Handling and Storage
Proper handling and storage of your LED curing light can significantly extend its lifespan. Follow these guidelines:
Avoid Dropping: Handle the curing light with care to prevent dropping or rough handling, which can damage internal components.
Store Safely: When not in use, store the curing light in a protective case or holder. Keep it away from direct sunlight and extreme temperatures to prevent damage to the LED and battery.
4. Battery Maintenance
For cordless LED curing lights, battery maintenance is essential for consistent performance. Here are some tips:
Regular Charging: Charge the battery according to the manufacturer's instructions. Avoid overcharging, which can reduce battery life.
Battery Replacement: If the battery no longer holds a charge or shows signs of swelling, replace it with a compatible battery from the manufacturer.
5. Calibration and Software Updates
Some advanced LED curing lights come with calibration and software update features. Ensure your device is always up-to-date:
Calibration: Follow the manufacturer's instructions for periodic calibration to maintain accurate light output.
Software Updates: Check for firmware or software updates from the manufacturer. These updates can improve performance and add new features.
6. Follow Manufacturer Guidelines
Always adhere to the manufacturer's guidelines and recommendations for your specific LED curing light model. This includes:
User Manual: Refer to the user manual for detailed maintenance instructions and troubleshooting tips.
Warranty and Support: Take advantage of the warranty and customer support services provided by the manufacturer for any issues or questions.
Conclusion
Ensuring the optimal performance of your LED curing light is vital for delivering high-quality dental treatments. By following these maintenance and handling tips, you can maximize the efficiency and lifespan of your equipment. Regular monitoring, proper care, and adherence to manufacturer guidelines will help you achieve consistent and reliable results in your dental practice.
For more information on our range of LED curing lights and other dental equipment, please visit our website or contact our customer support team.


