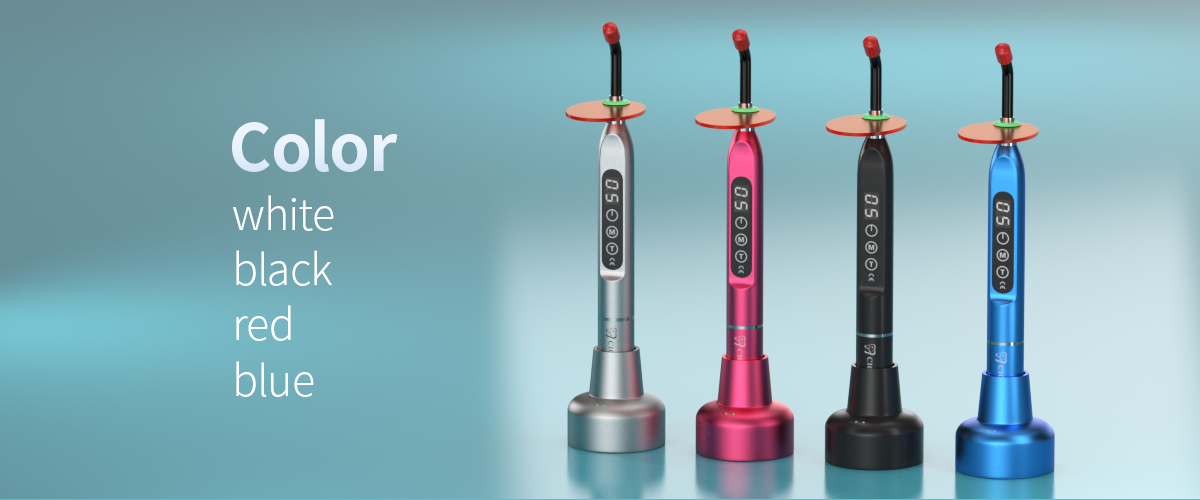
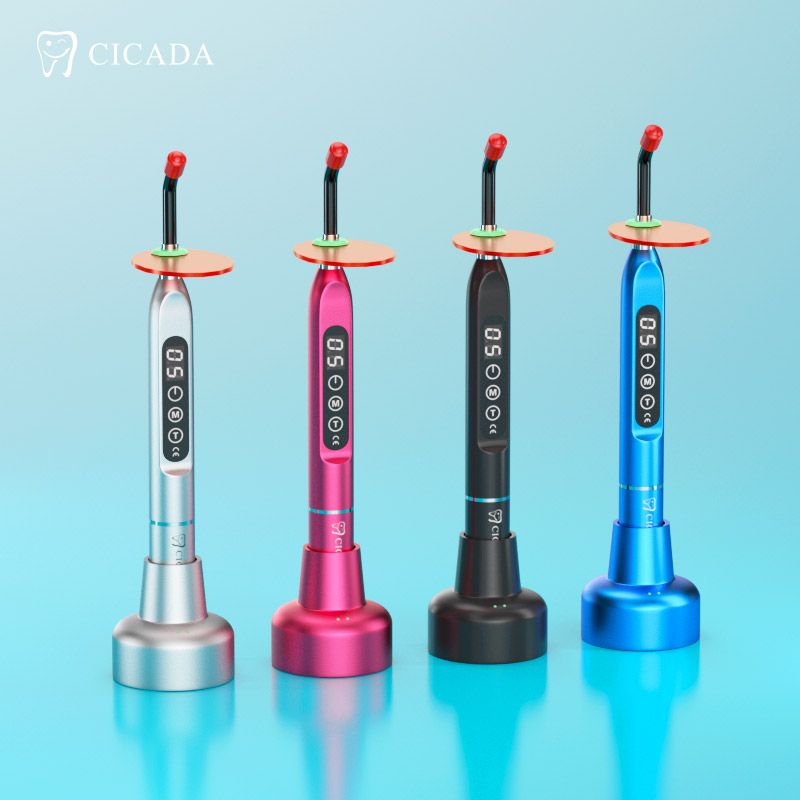
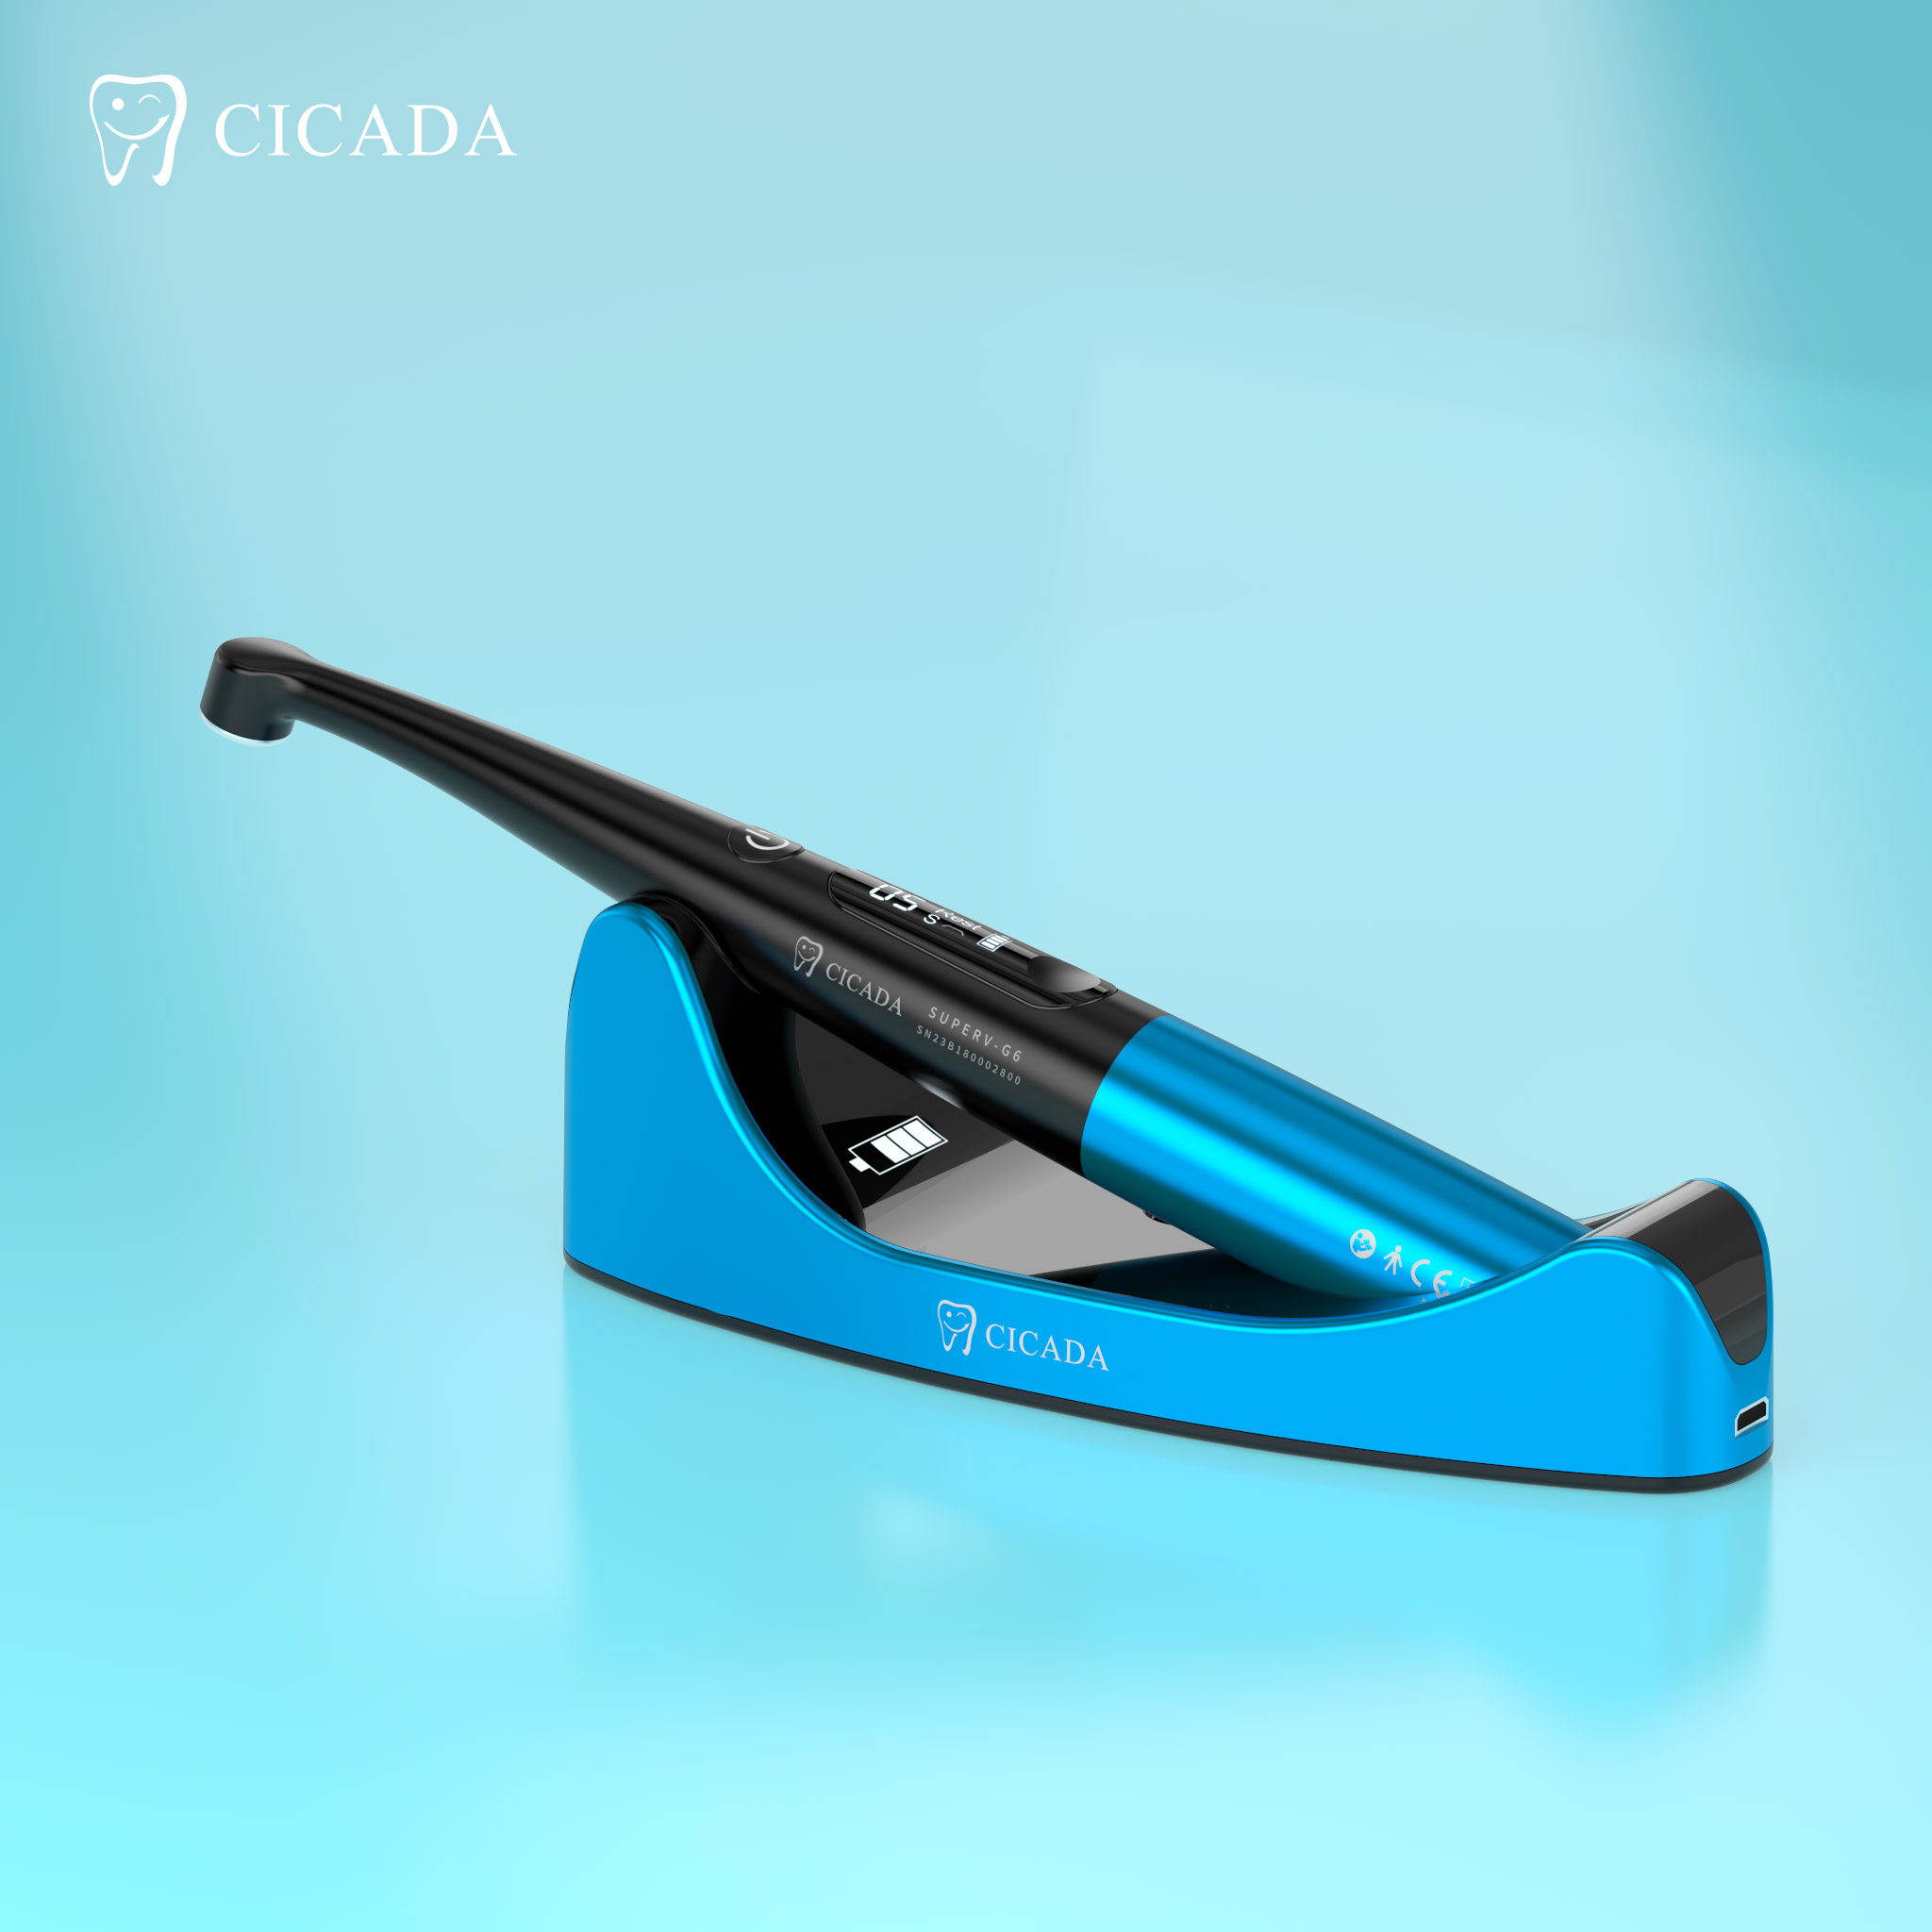
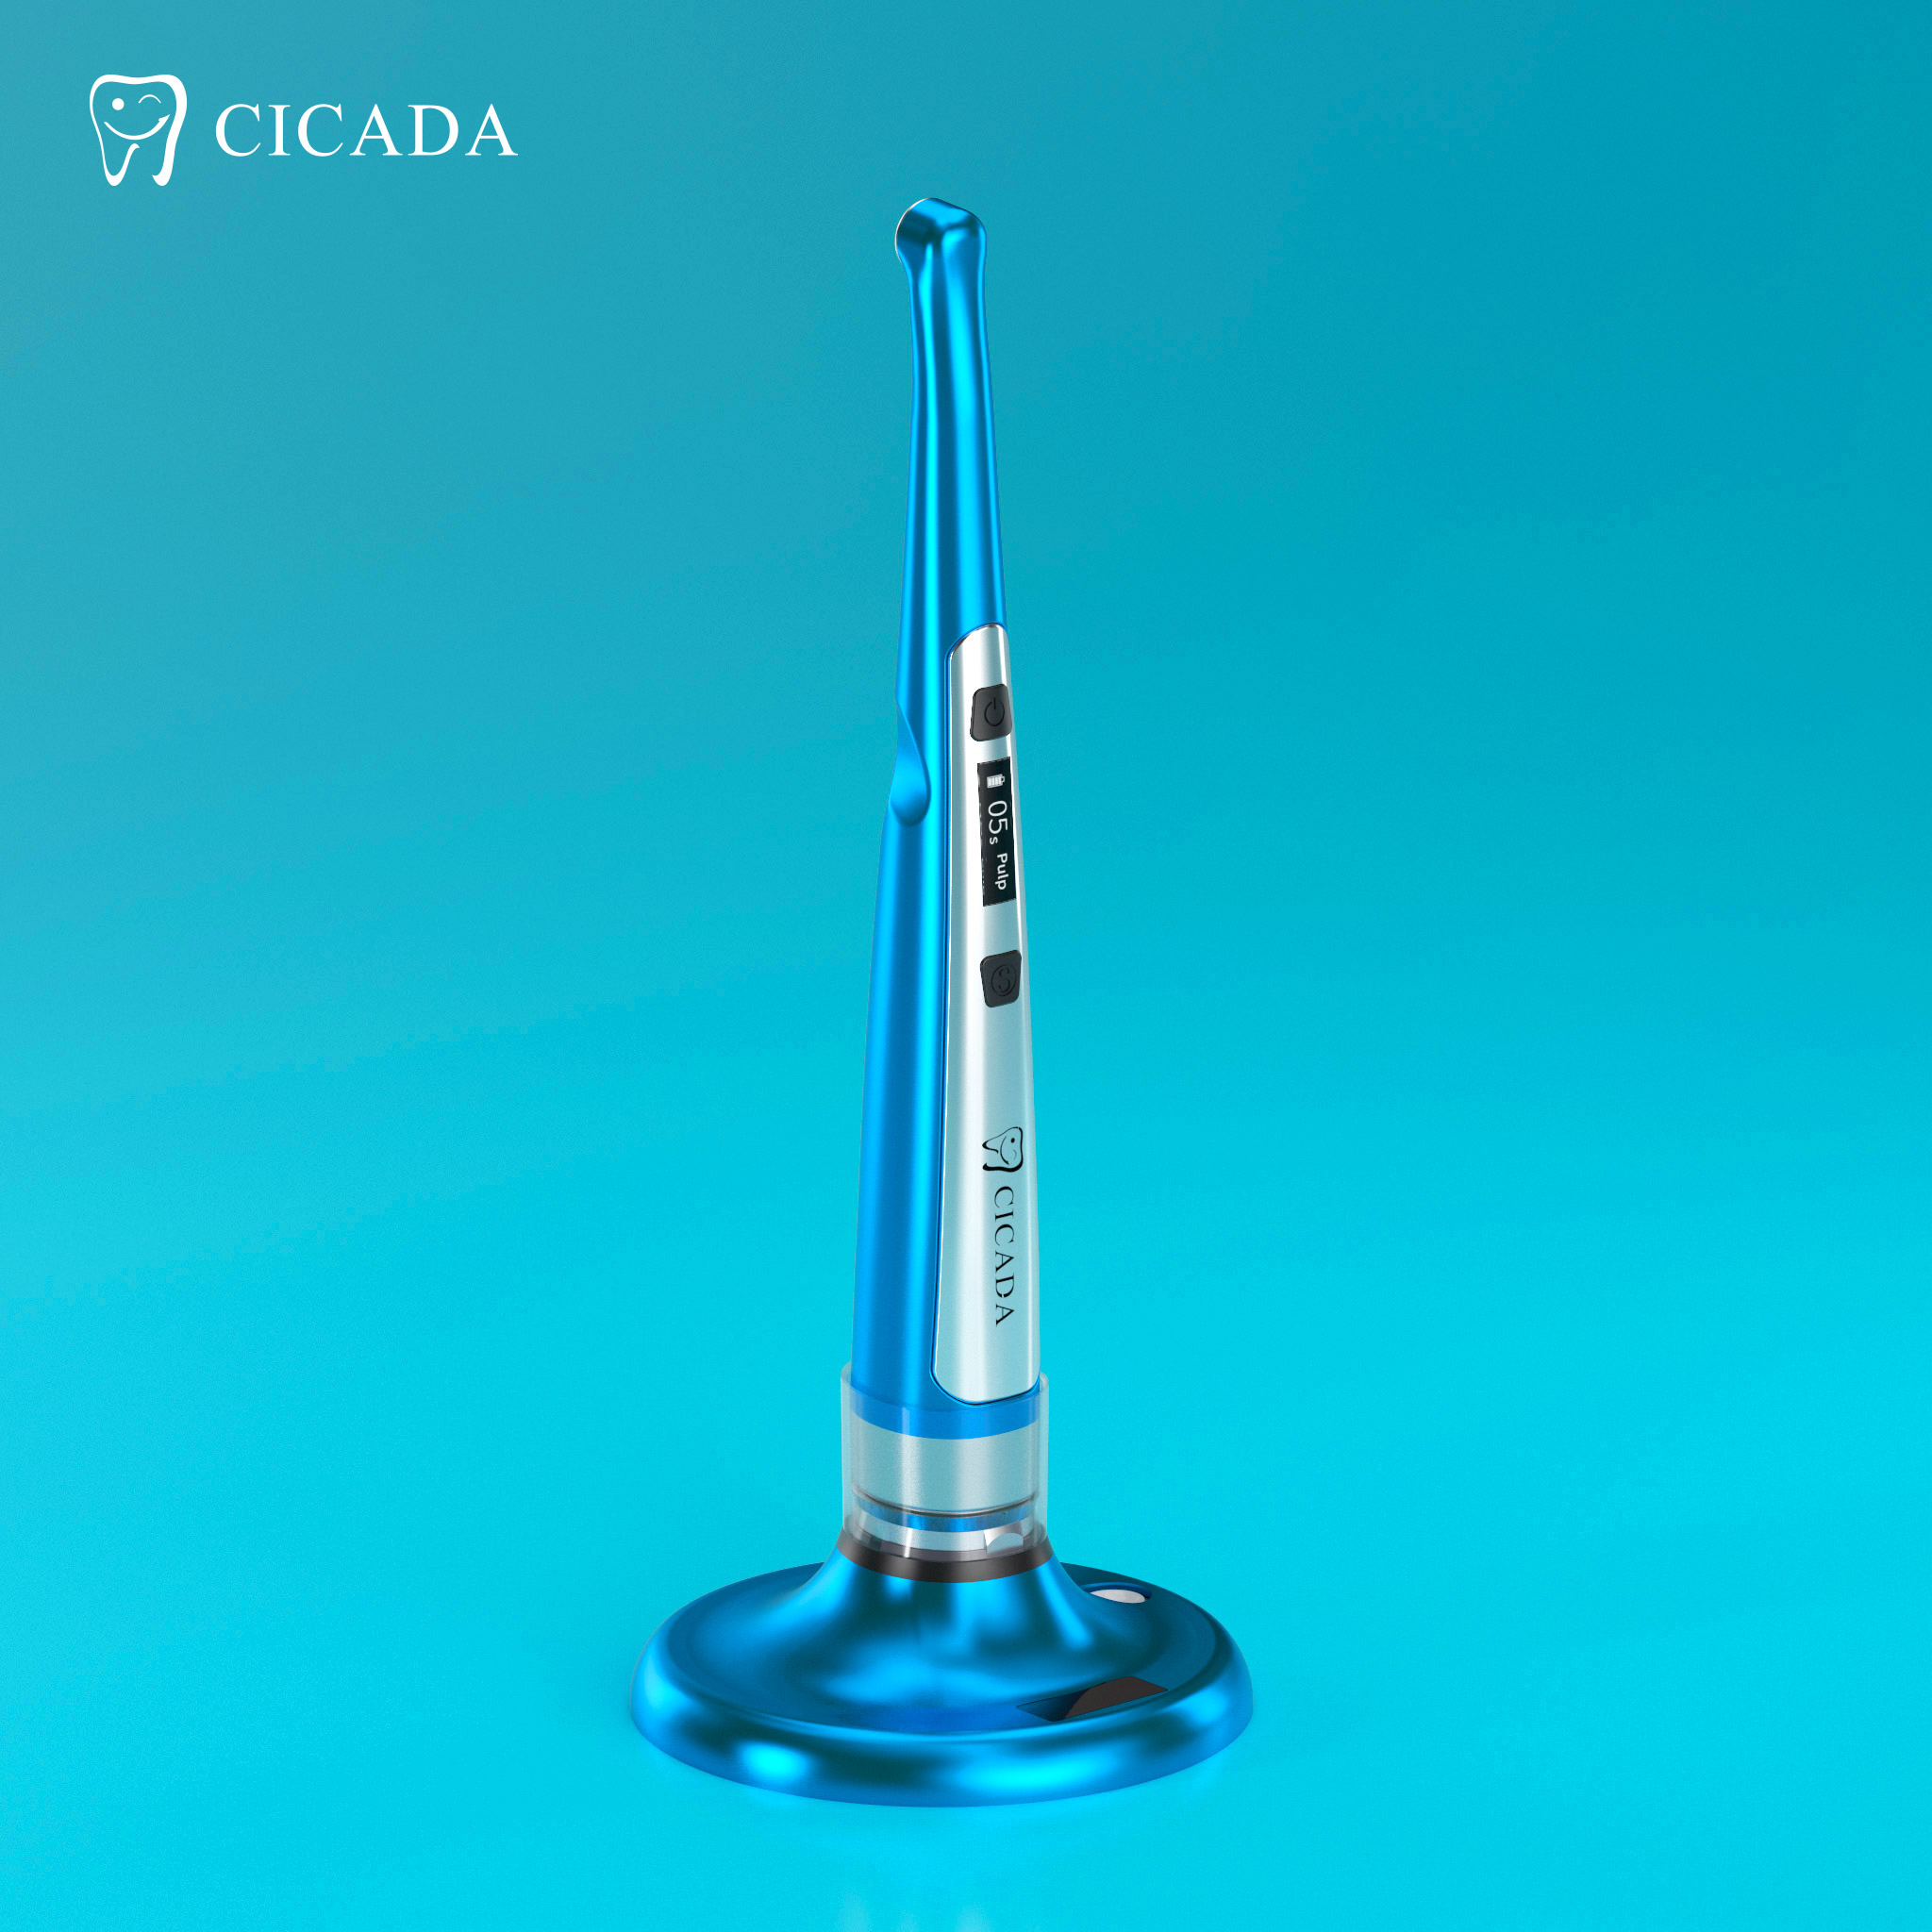
LED curing lights have changed the dental industry by offering faster, more reliable curing processes compared to traditional halogen-based systems. By leveraging the benefits of LED technology, dental practices can significantly enhance workflow efficiency and improve patient outcomes. Here are the key strategies for maximizing the efficiency of LED curing lights.
Choosing the Right LED Wavelength
Selecting the appropriate wavelength is crucial for optimizing the efficiency of LED curing lights. By matching the absorption characteristics of the materials with the optimal wavelength, you can ensure efficient energy transfer, minimize energy waste, and achieve faster curing times.
Some LED curing lights offer the flexibility of working with specific wavelengths or multiple wavelengths, allowing for greater customization and optimization of the curing process. This can be particularly beneficial when dealing with diverse curing needs, enabling you to streamline production and maximize overall efficiency.
Proper LED Placement and Optics
The placement and optical design of LED curing lights play a significant role in ensuring efficient curing. Proper LED placement, such as using chip-on-board technology, can provide greater design flexibility, higher intensity, and improved uniformity.
Effective optical design is essential for ensuring that the output generated by the LED system reaches the target material efficiently. Poorly designed or fitted optics can result in under-curing or over-curing, leading to suboptimal results.
Maintaining Light Intensity
Consistent light intensity is crucial for effective curing. Over time, the light output may decrease, affecting the curing process. To maintain optimal light intensity, regularly check the light output using a dental radiometer.
If the light intensity falls below the manufacturer's recommended levels, consider replacing the LED bulb. Always use compatible bulbs to ensure proper performance and maintain efficiency.
Proper Handling and Storage
Handling and storing your LED curing light with care can significantly extend its lifespan and maintain efficiency. Avoid dropping or roughly handling the device, as this can damage internal components.
When not in use, store the curing light in a protective case or holder. Keep it away from direct sunlight and extreme temperatures to prevent damage to the LED and battery.
Battery Maintenance (for cordless models)
For cordless LED curing lights, proper battery maintenance is essential for consistent performance. Charge the battery according to the manufacturer's instructions, avoiding overcharging, which can reduce battery life.
If the battery no longer holds a charge or shows signs of swelling, replace it with a compatible battery from the manufacturer.
Calibration and Software Updates
Some advanced LED curing lights come with calibration and software update features. Ensure your device is always up-to-date by following the manufacturer's instructions for periodic calibration to maintain accurate light output.
Additionally, check for firmware or software updates from the manufacturer regularly. These updates can improve performance, add new features, and enhance efficiency.
Here are some frequently asked questions about maximizing efficiency with LED curing lights:
What are the key factors to consider when choosing an LED curing light?
When selecting an LED curing light, focus on the following factors:
Wavelength: Choose an LED that emits light in the optimal wavelength range for your specific composite resins. Many newer LED lights cover a broader spectrum to activate a wider range of photoinitiators.
Light intensity: Look for an LED light with sufficient light output (measured in mW/cm²) to effectively cure the composite to the desired depth. Higher intensity generally leads to faster curing.
Beam profile: A well-designed LED light should provide a uniform, focused beam to deliver consistent curing across the restoration. Avoid lights with a divergent beam that loses intensity quickly.
Ergonomics: Consider the size, weight, and shape of the LED light to ensure it is comfortable to hold and easy to maneuver in the mouth. Cordless designs provide more flexibility.
How do I ensure proper light placement for optimal curing?
Proper placement of the LED light tip is critical for effective curing:
Position the light tip as close to the composite as possible, within 2-3 mm if possible. The intensity decreases rapidly with distance.
Angle the light tip perpendicular to the composite surface for the most efficient energy transfer. Avoid oblique angles.
Make sure the light tip is clean and free of any obstructions or resin buildup that could block the light.
Use the smallest light guide diameter that can still cover the entire restoration. Larger diameters spread the light over a wider area, reducing intensity.
How do I maintain my LED curing light for optimal performance?
Regular maintenance is key to keeping your LED curing light working at peak efficiency:
Clean the light tip and lens daily with a soft cloth and isopropyl alcohol to remove any resin buildup.
Check the light intensity periodically with a radiometer. If the intensity falls below the manufacturer's recommended level, replace the LED bulb.
Avoid dropping or roughly handling the light, as this can damage internal components. Store it in a protective case when not in use.
For cordless models, charge the battery according to the manufacturer's instructions and replace it when it no longer holds a charge.
Keep the light away from direct sunlight and extreme temperatures, which can degrade the LED and battery over time.
What are some common mistakes to avoid when using LED curing lights?
Some common errors that can compromise curing efficiency include:
Curing for too short a time. Always cure for the full duration recommended by the composite manufacturer.
Holding the light tip too far from the composite. The intensity drops off rapidly beyond 2-3 mm.
Curing through a thick layer of composite or too many increments at once. Limit each increment to 2 mm or less.
Curing through a metal matrix band or other obstructions. These can block the light and prevent adequate curing.
Failing to clean the light tip regularly. Resin buildup can absorb and scatter the light.
Using an incompatible LED light not matched to the photoinitiators in the composite.
Conclusion
The combination of faster curing times, improved bond strength, reduced heat generation, and lower operating costs makes LED curing lights a valuable investment for modern dental practices.
You can maximize the efficiency of your LED curing lights and deliver high-quality dental treatments consistently by following these tips. Always refer to the specific recommendations of both the LED light and composite manufacturers for optimal results.

